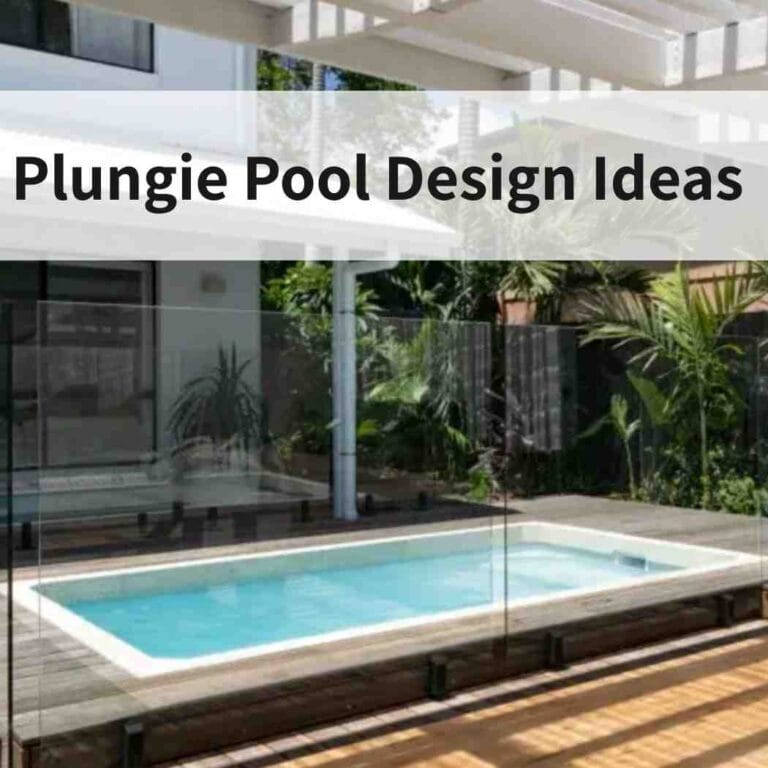
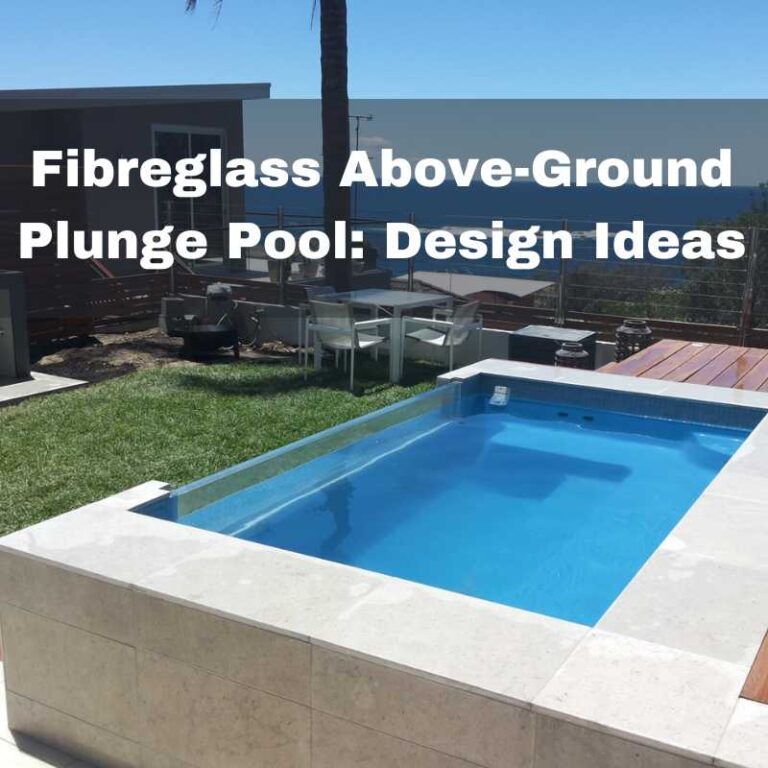
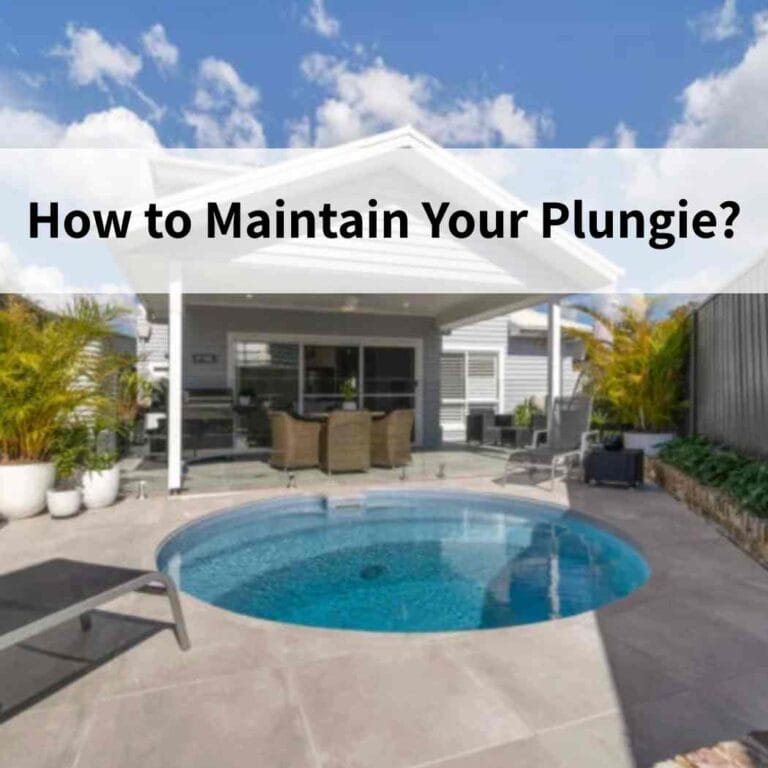
Fibreglass plunge pools are a practical solution for homeowners who want the benefits of a swimming pool without the space, cost, or maintenance of a full-sized pool. They’re ideal for small backyards, narrow lots, sloping blocks, and homes with limited outdoor space.
At Plunge Pools Sunshine Coast, we install inground, semi-inground, and above-ground fibreglass plunge pools, tailoring each installation to your property’s layout and site conditions. From site assessment and council approvals through to excavation, installation, and handover, we manage the entire process.
In this guide, you’ll learn how a fibreglass plunge pool is installed, what to expect at each stage, and the key factors that influence the project’s timeline and construction.
Detailed Steps to Fibreglass Pool Installation Process from Start to Finish
Step 1: Organise Your Onsite Visit for Quote
The first step is deciding whether a fibreglass or concrete plunge pool is the right fit for your property and lifestyle. If you’re considering fibreglass, an on-site consultation with an experienced pool builder is the best place to start.
During the visit, your builder will assess the site, discuss your preferred pool size, shape, and features, and evaluate factors such as access, soil conditions, drainage, and council requirements. This information is then used to prepare a tailored design and quotation for your project.
Check out this article why a fibreglass pool might be a great fit for you. for the homeowner to organise an on-site visit with an experienced pool installation team.
Step 2: Site Preparation & Access
Before construction begins, your builder will assess the site to confirm the most suitable installation method. This includes checking the soil conditions, site levels, existing landscaping, underground services, and any obstacles that could affect the project.
Access is one of the most important considerations for a fibreglass plunge pool installation. Micro-excavators can often access backyards through openings as narrow as 900 mm, making excavation possible on many tight sites. However, the fibreglass pool shell is much wider and typically requires 2.5 to 3 metres of clear access for delivery.
If side access isn’t available, the plunge pool is usually lifted into position with a mobile crane, allowing it to be installed over the house or other structures. Assessing access early helps your builder plan the safest and most efficient installation method.
Step 3: Planning and Design
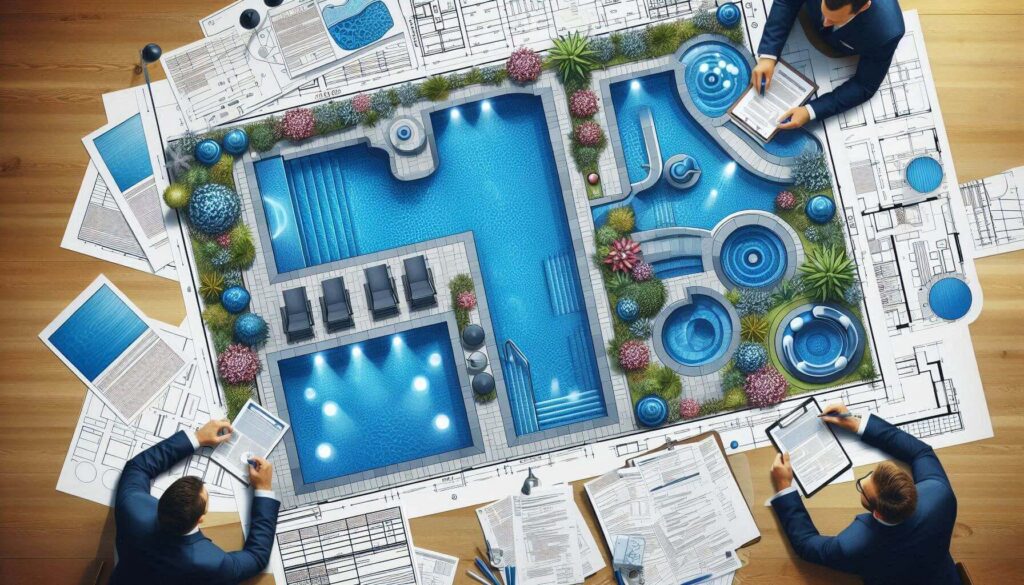
Determine the Size and Shape
Deciding on the size and shape of your plunge pool you want is essential. Consider the space available in your yard and how you plan to use the pool. This decision will impact the overall design and installation process. Fibreglass pool kits offer a variety of sizes and shapes, which can simplify your selection process and ensure you find the perfect fit for your space.
Features and Accessories
Think about any additional features you want to include, such as lighting, heating, or water features. These elements can enhance your pool and also should be planned with your pool builder during the design phase.
Permits and Approvals
Before any physical work on installing your pool, ensure you have obtained the necessary local council permits and approvals. This step is crucial to comply with local regulations, safety standards, and Queensland standards compliance documents.
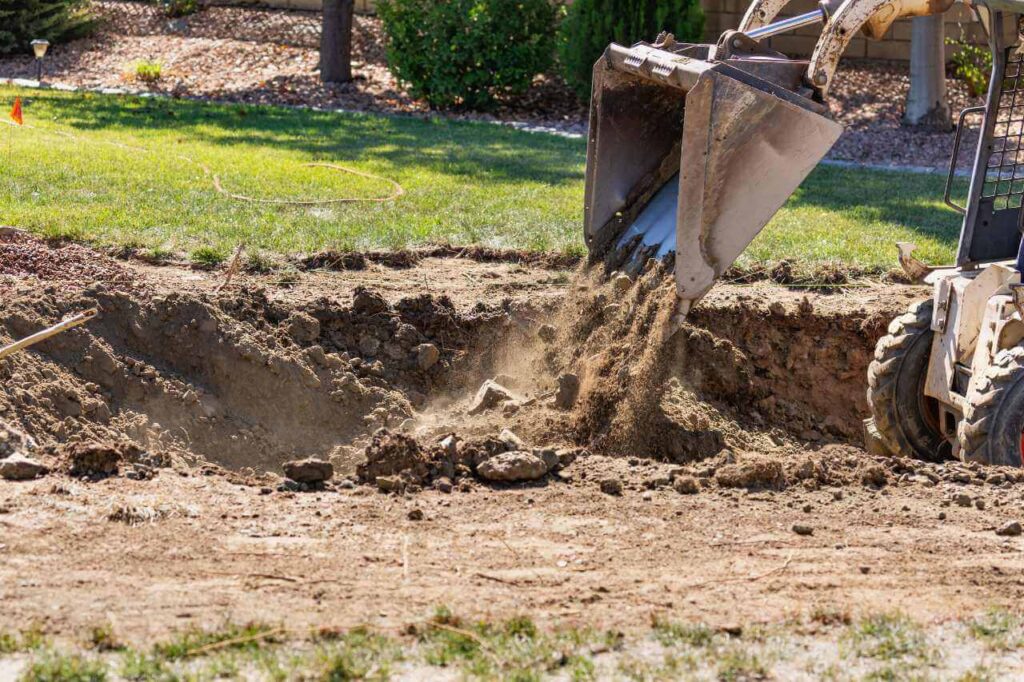
Step 4: Excavation & Base Preparation
Once approvals are in place, excavation begins. The amount of excavation depends on whether your fibreglass plunge pool will be installed inground, semi-inground, or above-ground.
For inground installations, the excavation is completed to the required depth before a compacted gravel base is prepared to support the pool shell. Semi-inground installations may require additional retaining or structural support, while above-ground plunge pools are typically installed on an engineered concrete slab designed to carry the weight of the pool and water.
Before the shell is delivered, the foundation is carefully levelled and checked against the manufacturer’s specifications. Proper site preparation helps ensure the pool remains level, structurally sound, and built to perform for years to come.
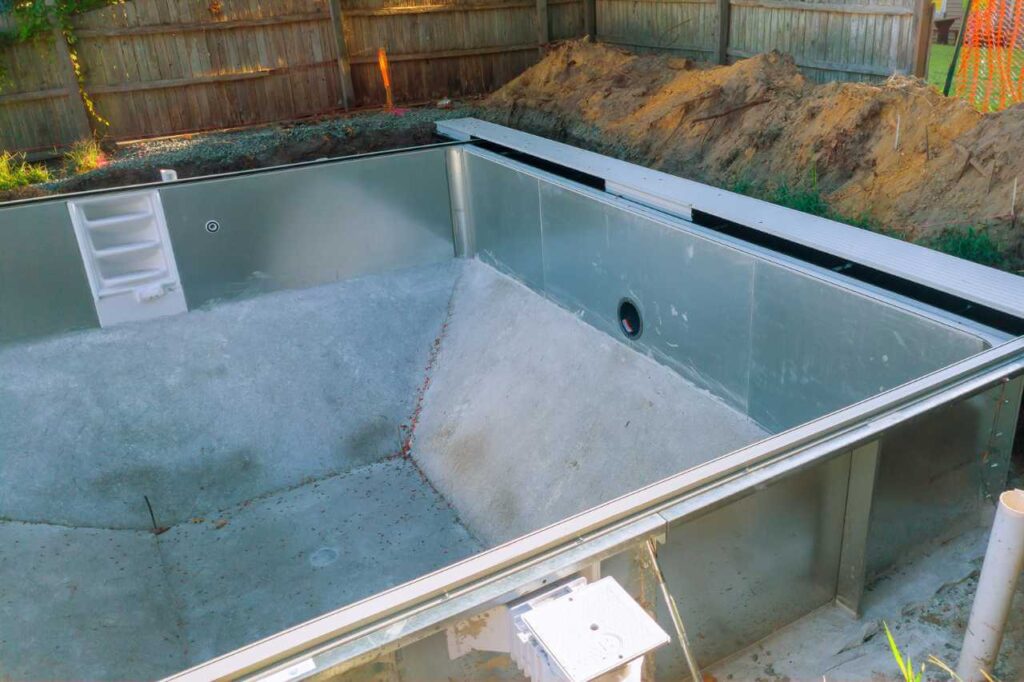
Step 5: Shell Delivery & Crane Placement
Once the base is prepared, the fibreglass plunge pool shell is delivered to your property. Because the shell arrives as a single pre-moulded unit, careful planning is essential to ensure a safe and efficient installation.
Where there is sufficient side access, the shell may be positioned directly into place. On properties with limited access, it’s typically lifted over the house or garage using a mobile crane, allowing installation in backyards that would otherwise be difficult to reach.
As the shell is lowered onto the prepared base, the installation team carefully aligns and levels it before securing it in position. Accurate placement at this stage helps ensure the pool performs as intended and provides a solid foundation for the remaining installation work.
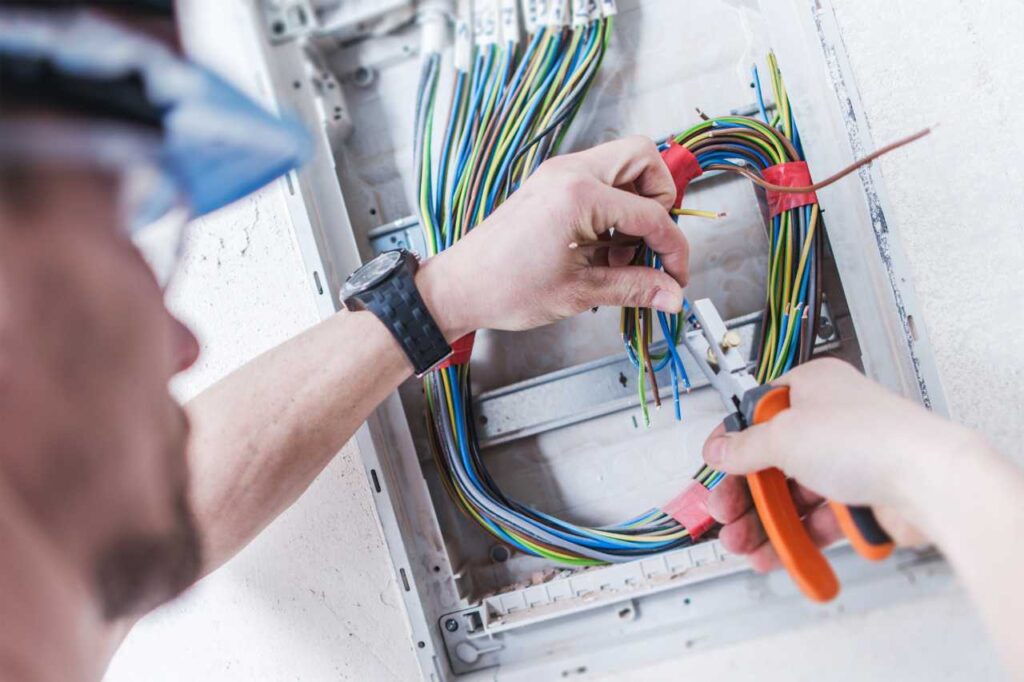
Step 6: Plumbing, Filtration & Electrical
Once the pool shell is in place, the plumbing, filtration, and electrical systems are installed. Fibreglass plunge pools use compact, high-efficiency equipment designed to deliver reliable water circulation while minimising the space required for plant equipment.
Your installer will connect the plumbing, including the skimmer box, return jets, and any optional features such as spa jets or water features. A compact filtration system and pump are then installed, with provisions for optional upgrades such as a heat pump, mineral system, or pool automation.
All plumbing is pressure-tested before electrical work is completed by a licensed electrician in accordance with Australian Standards. Once the equipment has been tested, the installation is ready for backfilling.
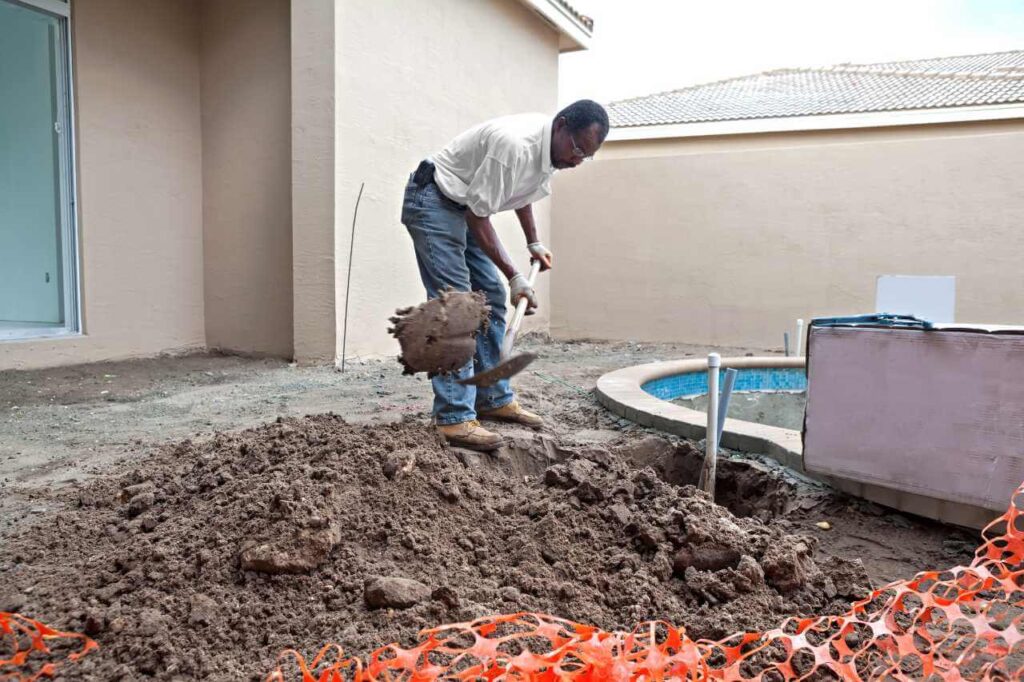
Step 7: Backfilling & Water Equalisation
Once the plumbing has been tested, backfilling around the pool shell can begin. Depending on the installation requirements, the approved backfill material is placed in controlled layers to provide even support around the shell.
As backfilling progresses, the pool is filled with water at the same time to equalise pressure on both sides of the shell. This helps maintain the pool’s position and reduces the risk of movement during installation.
Once backfilling is complete, the surrounding area is compacted and checked to ensure the shell remains level before the finishing works begin.
Step 8: Coping & Pool Finishes
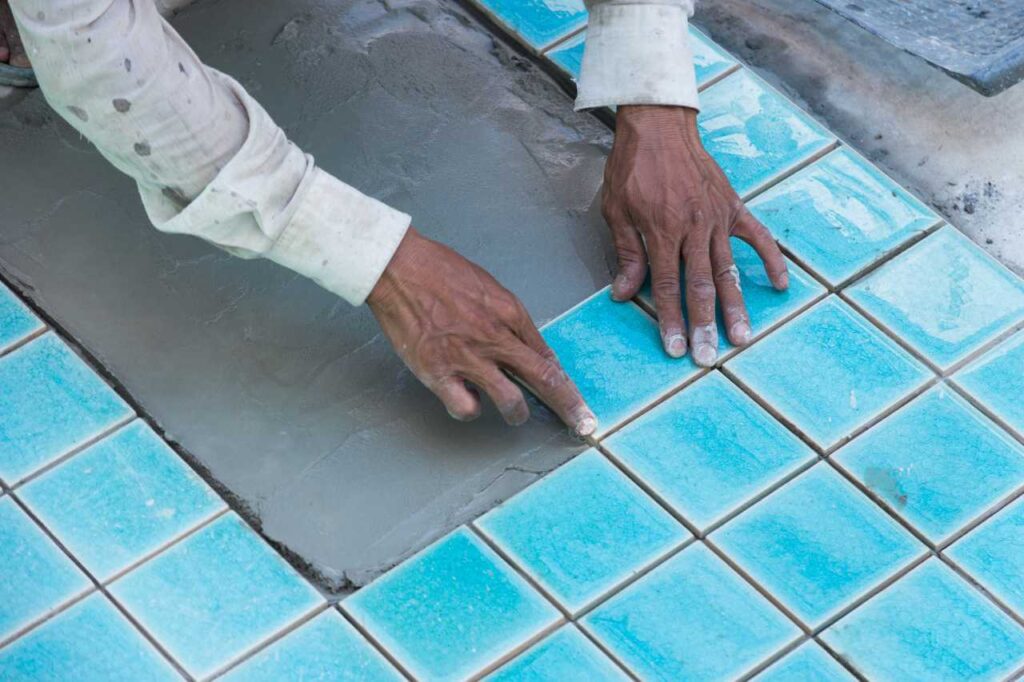
With the pool securely in place, the finishing works can begin. Pool coping is installed around the edge of the plunge pool to create a clean transition between the shell and the surrounding surface while helping protect the pool edge.
Depending on your design, the coping can be finished with concrete, natural stone, porcelain tiles, or pavers to complement your outdoor space. For above-ground and semi-inground plunge pools, finishes may also integrate with retaining walls or raised surrounds.
Careful installation and finishing help improve the pool’s appearance, provide a durable edge, and prepare the area for decking or landscaping.
Step 9: Decking, Retaining & Landscaping
Once the pool finishes are complete, the surrounding area is transformed into a functional outdoor space. Depending on the installation, this may include timber or composite decking, paving, retaining walls, or landscaping to complement the plunge pool and your backyard.
For above-ground and semi-inground plunge pools, decking and retaining walls are often used to integrate the pool with the existing landscape, improve accessibility, and create a seamless transition between the pool and surrounding outdoor areas.
Finishing touches such as planting, lighting, and seating can further enhance the space, creating a practical and inviting area for relaxing and entertaining.
Step 10: Fencing, Certification & Handover
Before your plunge pool can be used, it must comply with Queensland pool safety regulations. A compliant pool fence must be installed, and the completed project is inspected to ensure it meets the required safety standards.
Once construction is complete, the pool equipment is commissioned, the water is balanced, and all systems are tested to confirm they are operating correctly. After the final inspection, you’ll receive the relevant compliance documentation, including the Form 17 Pool Safety Certificate, where applicable.
Before handover, your installer will explain how to operate the filtration system, maintain water quality, and care for your new fibreglass plunge pool, so you can enjoy it with confidence from day one.
Tips for a Successful Installation
Choose the Right Installer:
For a successful pool installation, select a highly skilled professional to ensure quality installation that anyone can successfully enjoy. Partner with our licensed team at Plunge Pools Sunshine Coast for fibreglass plunge pool installations built to last, from design to final inspection.
Plan Ahead:
Consider all aspects of your pool, including landscaping and features, before installation begins.
Follow Regulations:
You’ll need to ensure all local regulations and safety standards are met throughout the process.
Conclusion
Installing a fibreglass plunge pool involves more than placing a pre-moulded shell in your backyard. From site assessment and council approvals through to excavation, crane installation, plumbing, and final certification, every stage plays a role in achieving a safe and long-lasting result.
Whether you choose an inground, semi-inground, or above-ground installation, working with an experienced pool builder helps ensure your plunge pool is designed to suit your property, site conditions, and lifestyle.
If you’re planning a fibreglass plunge pool on the Sunshine Coast, our team can guide you through the entire process, from the initial consultation to final handover.
Frequently Asked Questions
Can You Still Install a Pool If My Block Is Sloping?
Yes. Fibreglass plunge pools are an excellent solution for sloping blocks because they can be installed inground, semi-inground, or above-ground, depending on your property’s layout and engineering requirements.
For many Sunshine Coast homes, a semi-inground installation works particularly well, allowing the pool to integrate with retaining walls, raised decking, or split-level outdoor areas. During the site assessment, your builder will evaluate the slope, soil conditions, drainage, and access to recommend the most suitable installation method.
Is It A Problem If I Don’t Have Good Access To My Backyard?
Not necessarily. Fibreglass plunge pools are often chosen for properties with limited access because excavation can usually be completed using micro-excavators that fit through openings as narrow as 900 mm.
If the pool shell cannot be carried through side access, it’s typically lifted into position with a mobile crane over the house or other structures. During the site assessment, your builder will determine the safest and most practical installation method for your property.
Will I Need to Organise My Pool Fencing or Contractors to Do Plumbing, Electrical etc.?
Not necessarily. While some homeowners choose to organise individual trades themselves, we provide a complete installation service and can manage the entire project on your behalf.
From site assessment and council approvals through to excavation, pool installation, plumbing, electrical work, pool fencing, and final certification, our team coordinates each stage of the project. This helps simplify the installation process and ensures all work is completed in the correct sequence and in accordance with Queensland requirements.
Is There Any Chance My Pool Could Move Out Of Position Once It’s Been Installed?
When installed correctly, a fibreglass plunge pool should remain stable for many years. During installation, the pool is filled with water while backfilling is completed, helping equalise pressure around the shell and maintain its position.
Where required, drainage measures such as hydrostatic relief valves or sub-soil drainage systems may also be incorporated to manage groundwater and reduce pressure beneath the pool. Working with an experienced installer and following the manufacturer’s installation specifications helps ensure long-term structural performance.
Can I Customise A Fibreglass Pool Design?
Yes. While the fibreglass shell is manufactured in a range of pre-moulded sizes and shapes, there are plenty of ways to customise the finished pool.
Popular options include gelcoat colours, built-in spa jets, LED lighting, heating systems, water features, tile borders, coping, timber or composite decking, and surrounding landscaping. These features allow you to create a plunge pool that complements both your home and outdoor living area.