Installing a fibreglass plunge pool can transform your backyard into a personal oasis. This guide will take you through the detailed steps to install a fibreglass pool from start to finish, ensuring you have a clear understanding of what to expect.
For background on design choices, benefits, and planning, see our complete guide to fibreglass plunge pools before starting your installation journey.
Detailed Steps to Fibreglass Pool Installation Process from Start to Finish
Step 1: Organise Your Onsite Visit for Quote
The first step in your fibreglass pool journey is for the homeowner to organise an on-site visit with an experienced pool installation team. This visit will help assess your property, discuss your needs, and provide an accurate quote. During this visit, the installer will evaluate the site and discuss potential designs and features that suit your preferences and budget. They will usually put you in touch with other professionals, such as landscapers or electricians if needed.
Step 2: Site Preparation
Site Assessment
A thorough site assessment is crucial before proceeding. This involves checking the soil type, existing landscaping, and any potential obstacles that may affect the installation. Factors such as site conditions will help in planning the excavation and installation process.
Ensure Access and Logistics
Access to your backyard is a significant consideration in the construction process. Ensure that there is adequate space for excavation equipment and the delivery of the fibreglass swimming pool shell. Ideally, a width of 2.5 to 3 metres is recommended for easy access, with a minimum of 900 mm for machinery.
Step 3: Planning and Design

Determine the Size and Shape
Deciding on the size and shape of your plunge pool you want is essential. Consider the space available in your yard and how you plan to use the pool. This decision will impact the overall design and installation process. Fibreglass pool kits offer a variety of sizes and shapes, which can simplify your selection process and ensure you find the perfect fit for your space.
Features and Accessories
Think about any additional features you want to include, such as lighting, heating, or water features. These elements can enhance your pool and also should be planned with your pool builder during the design phase.
Permits and Approvals
Before any physical work on installing your pool, ensure you have obtained the necessary local council permits and approvals. This step is crucial to comply with local regulations, safety standards, and Queensland standards compliance documents.
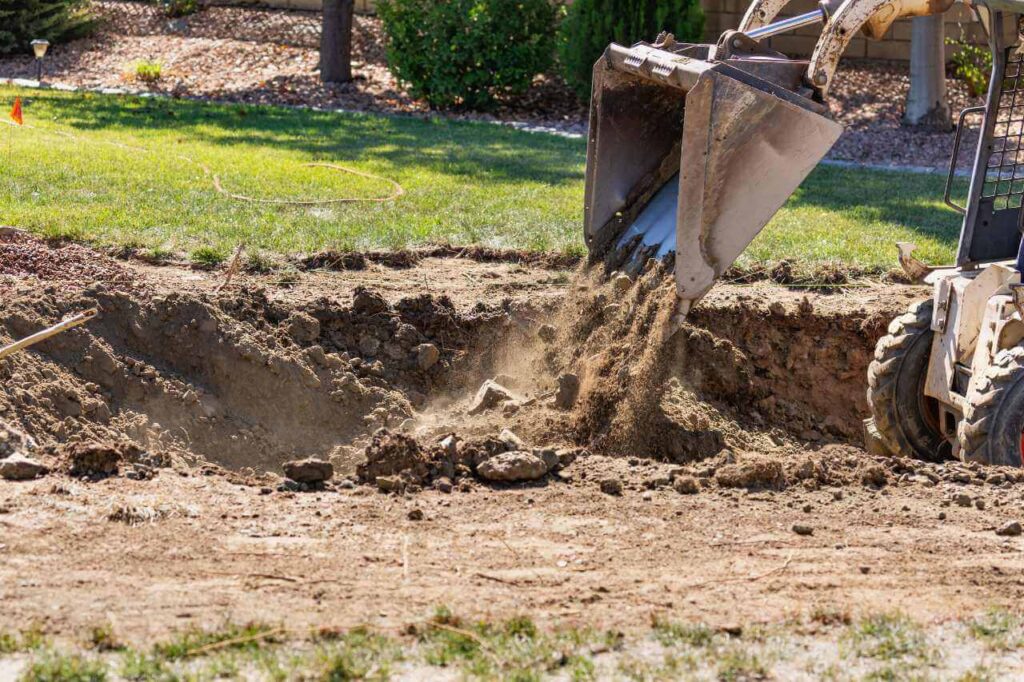
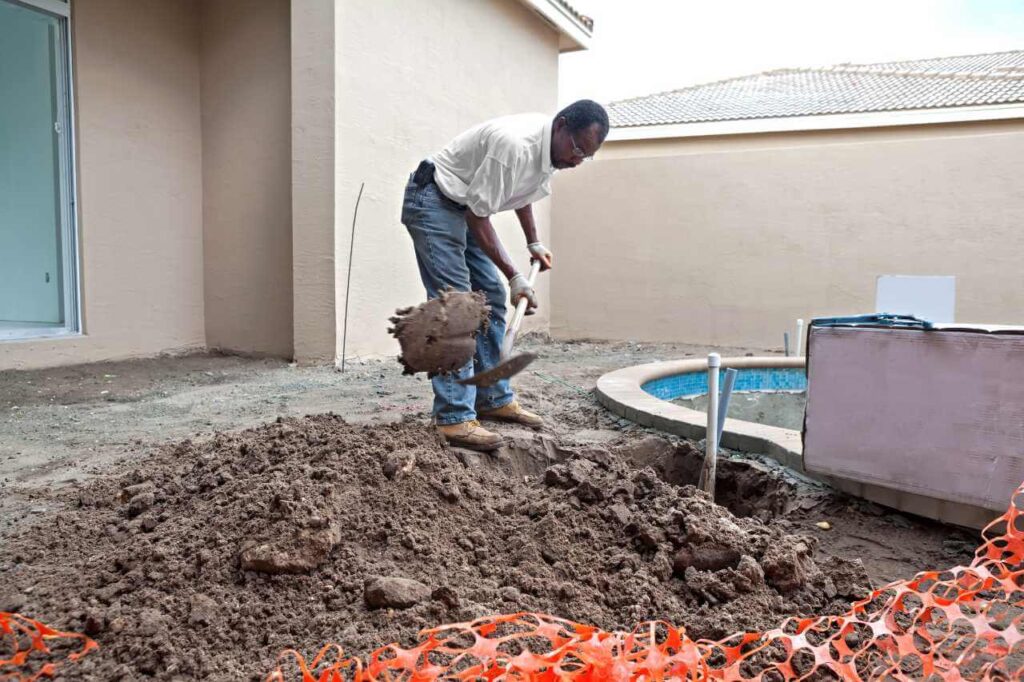
Step 4: Excavation
Mark the Pool Area
Once you have your permits, the next step is to mark the pool area using a string line based on the design and dimensions discussed earlier. This will guide the excavation process.
Check for Utilities
Before excavation, it is vital to check for any underground utilities such as gas, water, or electrical lines. This step will prevent any accidental damage during digging.
Excavate the area
With the area marked and utilities checked, excavation can begin. The installer will dig the hole according to the specifications provided in the dig sheet, ensuring the correct depth and shape for the pool.
Prepare the Base
Preparing the base or bedding is essential as a well-prepared base provides the necessary support for the shell and helps prevent future issues such as settling or shifting.
Compaction of excavated area
After the excavation is complete, the first task is to compact that area. This involves using a mechanical compactor to compress the soil at the bottom of the excavation.
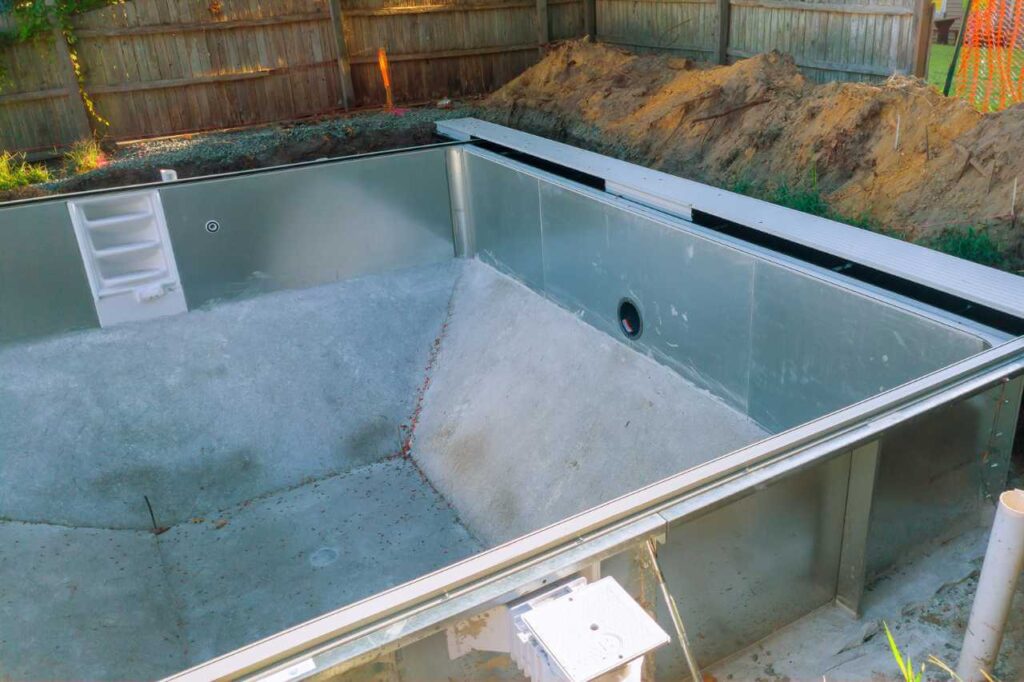
Step 5: Pool Shell Installation
Delivery of the Shell
Once the base is prepared, the swimming pool shell will be delivered. It typically arrives on a low-loader truck designed for transporting shells.
Lowering shell with crane
The next step is to lower the shell into the pool area. This is often done using a crane or excavator, ensuring that the shell is positioned correctly and level.
Bond Beam Integration
After the shell is in place, a bond beam is integrated around the pool. This concrete beam provides structural support and helps secure the shell in position.
Step 6: Plumbing, Filtration and Electrical
Install Plumbing
With the pool frame installed, it’s time to install the plumbing. This includes connecting the skimmer box, return jets, and any additional features, such as spa jets.
Install Filter Pump
Filtration equipment is crucial for maintaining water quality in pools. It is typically installed near the pool and connected to the plumbing system. A pool without a filtration pump or chlorinators is considered a health hazard across Australia.
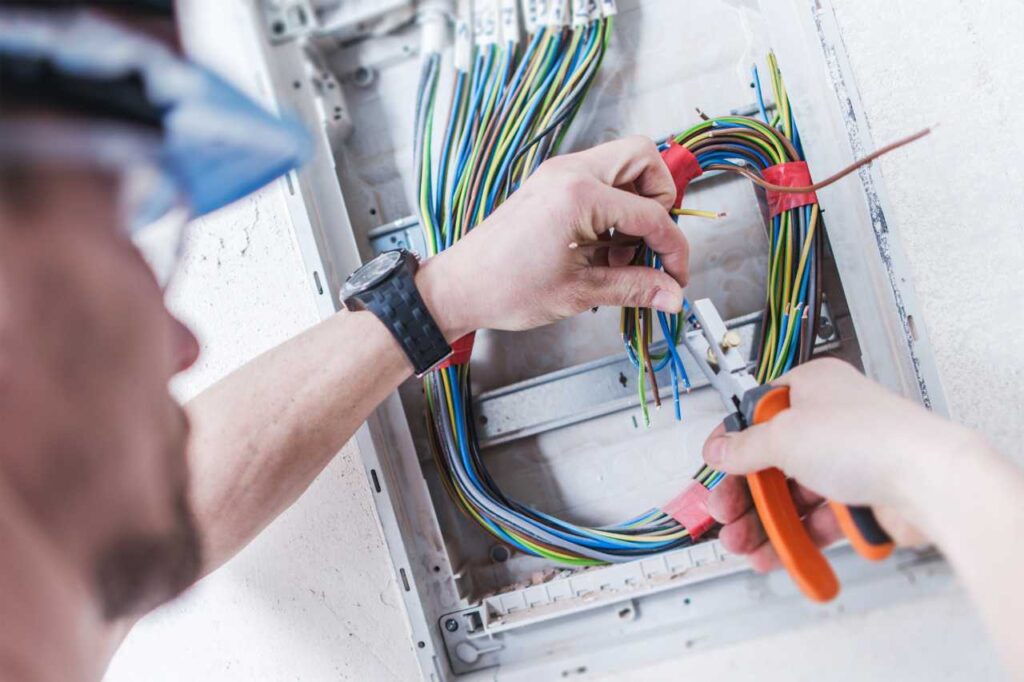
Electrical Work
Electrical connections for lighting and any heating systems must be installed by a licensed electrician, ensuring compliance with safety standards.
Step 7: Backfilling and Levelling
Backfill Material
Once the plumbing and electrical work is complete, backfilling around the pool frame can begin. This usually involves using gravel or sand to provide stability and support.
Compaction & Levelling
As backfilling progresses, it’s essential to compact the material to prevent settling. The pool should be filled with water simultaneously to equalize pressure and maintain its position.
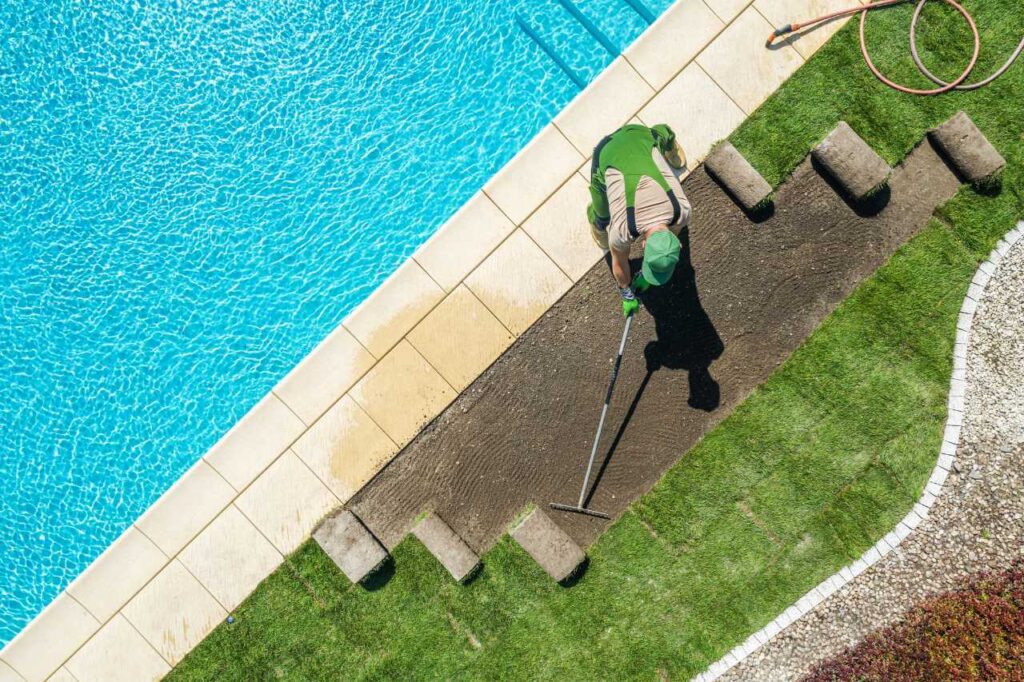
Step 8: Decking and Landscaping
Pool Deck Installation
After the pool is securely in place, the installation of the pool deck can begin. This may involve paving, concrete, or other materials to create a safe and attractive area around the pool.
Landscaping
Landscaping can enhance the overall aesthetic of your pool zone. Consider adding plants, lighting, or pathways to create a beautiful environment.
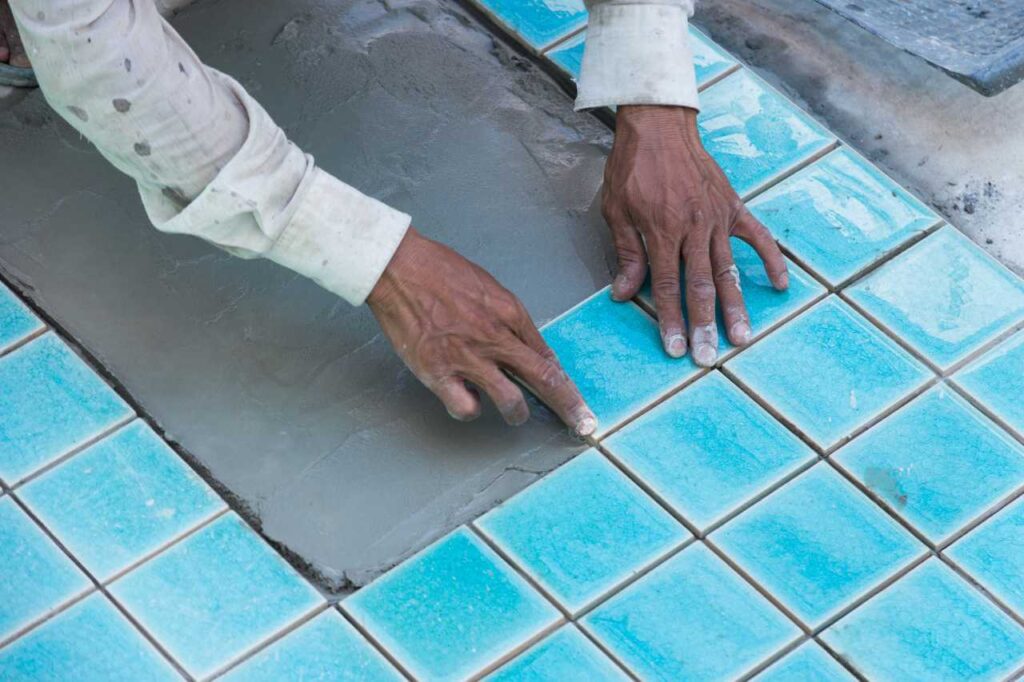
Step 8: Pool Coping & Tiling the Pool
What is Pool Coping and its Types?
Pool coping refers to the material that caps the edge of the pool frame. It provides a finished look and helps prevent water from spilling over. Common types include concrete, pavers, and natural stone.
Surface Preparation
Before tiling, the surface must be prepared to ensure proper adhesion of the tiles.
Applying Adhesive
A suitable adhesive is applied to the surface where tiles will be placed.
Placing Tiles
Tiles are carefully placed around the pool, creating an upgraded, beautiful border that enhances the overall design.
Grouting
Once the tiles are set, grout is applied to fill the gaps, providing a finished look and preventing water from seeping underneath.
Want a cohesive finish that blends with your landscape? Our custom fibreglass plunge pool solutions include elegant coping, tiling, and surround options.
Step 9: Pool’s Fencing
Safety Considerations
Installing pool fencing is a legal requirement in many areas for safety reasons. Ensure that the fencing complies with local regulations and is installed correctly.
Step 10: Finishing Touches
Filling the Pool with water
Once all installations are complete, the pool can be filled with water. This process may take several hours, depending on the pool size.
System Testing
Before using the pool, it’s essential to test all systems, including the filtration and electrical systems, to ensure everything operates correctly.
Final Inspection
A final inspection by a qualified professional will ensure that builder’s all installations meet safety standards and regulations.
Enjoy Your New Pool

Tips for a Successful Installation
Choose the Right Installer:
For a successful pool installation, select a highly skilled professional to ensure quality installation that anyone can successfully enjoy. Partner with our licensed team at Plunge Pools Sunshine Coast for fibreglass plunge pool installations built to last, from design to final inspection.
Plan Ahead:
Consider all aspects of your pool, including landscaping and features, before installation begins.
Follow Regulations:
You’ll need to ensure all local regulations and safety standards are met throughout the process.
Summary
Installing a fibreglass plunge pool involves careful planning, execution, and adherence to safety standards. By following these detailed steps, you can ensure a successful installation that enhances your outdoor space.
If you’re ready to take the plunge and save thousands, contact our team of experts today for a consultation!
Frequently Asked Questions
Can You Still Install A Pool If My Block Is Sloping?
Yes, fibreglass pools can be installed on sloping blocks with proper engineering and planning.
Is It A Problem If I Don’t Have Good Access To My Backyard?
Limited access can complicate installation but can often be managed with the right equipment and planning.
Will I Need to Organise My Pool Fencing or Contractors to Do Plumbing, Electrical etc.?
Yes, you will need to arrange for fencing and may require licensed contractors for plumbing and electrical work.
Is There Any Chance My Pool Could Move Out Of Position Once It’s Been Installed?
If installed correctly, with proper compaction and backfilling, the pool should remain stable.
Can I Customise A Fibreglass Pool Design?
Yes, many manufacturers offer customisation options for size, shape, and features.